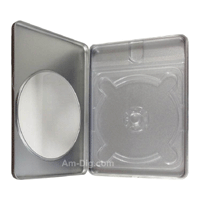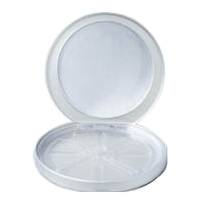
Tin CD/DVD Case Round D-Shape w/ Window Clear Tray JCT20120
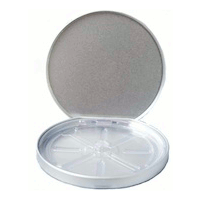
Tin CD/DVD Case Round D-Shape no Window Clear Tray JCT20020
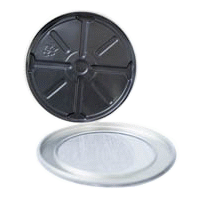
Tin CD/DVD Case Round Shape no Hinge with Window JCT21110
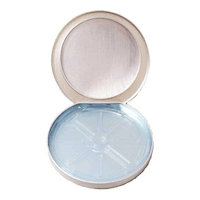
Tin CD/DVD Case Round D-Shape w/ Window Blue Tray JCT20100
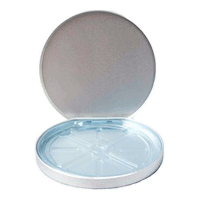
Tin CD/DVD Case Round D-Shape no Window Blue Tray JCT20000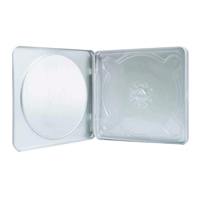
Tin CD/DVD Case Square Style w/ Window Clear Tray JCT10120
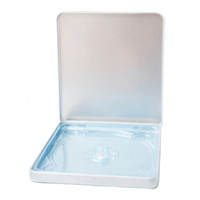
Tin CD/DVD Case Square Style no Window Blue Tray JCT10000
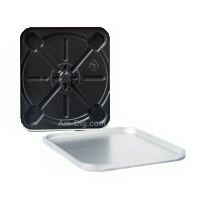
Tin CD/DVD Case Square Style no Hinge no Window JCT11010
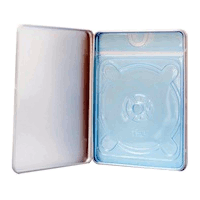
Tin DVD/CD Case Rectangular no Window Blue Tray DCT30000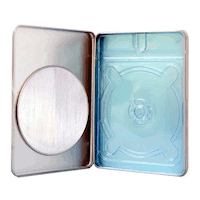
Tin DVD/CD Case Rectangular with Window Blue Tray DCT30100
Using O-Rings in the New Rounded D-Shape Tin Cases
Below are details regarding the intended use of the O-Rings that are included with the JCT20020 and JCT20120 cases that were manufactured in August of 2013.
Background
Both models (JCT20020 & JCT20120) contain a new version of the disc tray used in similar models.
Instead of a light blue color and single disc capacity, the new trays are clear and hold up to three discs. Due to space limitations, removal of media can be challenging. If you would like the complete story regarding this situation and how it was
addressed, please view the Rounded D-Shape Tin CD Case Clear Tray
Solution page.
O-Ring Basics
The included O-Rings can be used at your own discretion. These have some degree of flexibility and will easily slide around the center hub of the
clear trays. Once they are completely around the hub, simply slide it down to the bottom of the tray. There is no need to remove the tray from the
case to properly insert them.
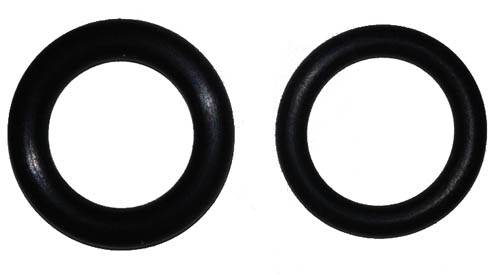
These are the
included O-Rings. Click to enlarge (opens new window).
WARNING: Keep the O-Rings and all other small objects away from small children and pets.
When to use which O-Ring?
These are merely suggestions. These are your cases and should be used any way you like.
LARGE O-RING: If you only need to store one disc, this ring will give the disc maximum distance from the tray bottom for easy insertion and removal.
SMALL O-RING: If you intend to use the case to hold 2 discs, this ring will provide both lift from the tray bottom and leave enough space on the hub
to hold two discs.
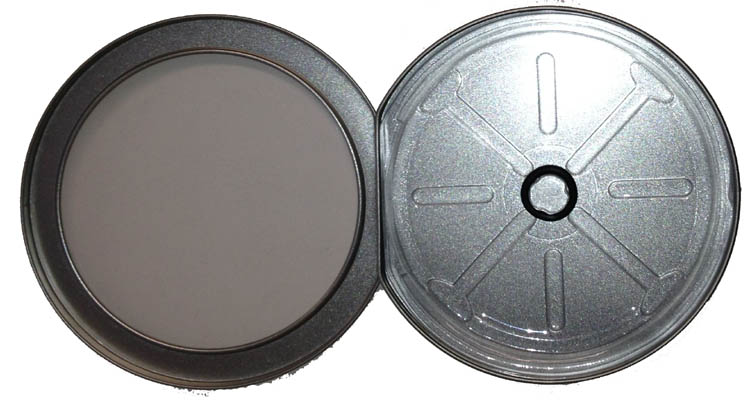
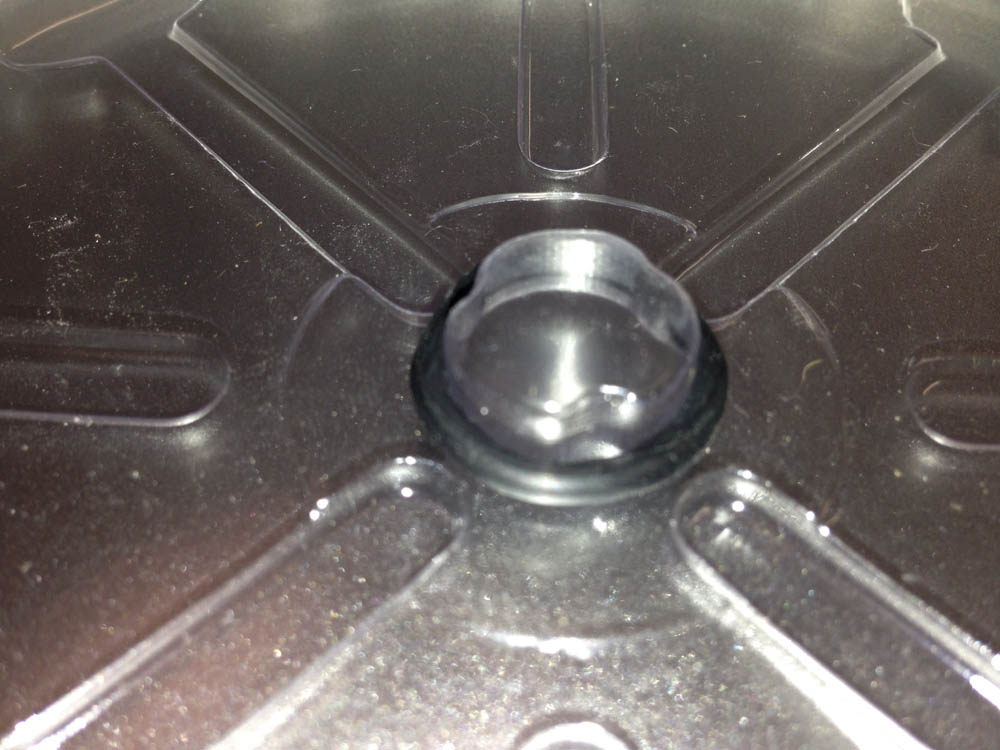
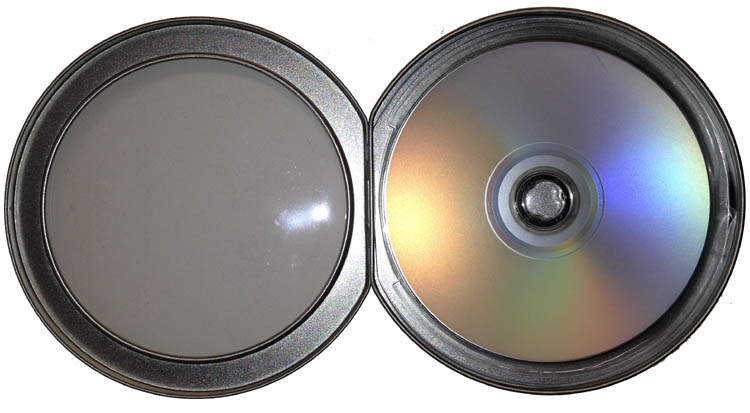
The above images show what the O-Rings looks like when place on the tray hub. The center is a closeup of the left. The right is with disc inserted. These images show the large O-Ring. Click to enlarge (opens new window).
NO O-RING: If you would like to store three discs, don't use either ring. The discs can be stacked on the hub. However, doing so, will cause the bottom disc to lie flush with the bottom of the tray. This, in turn, could make it difficult to remove the discs.
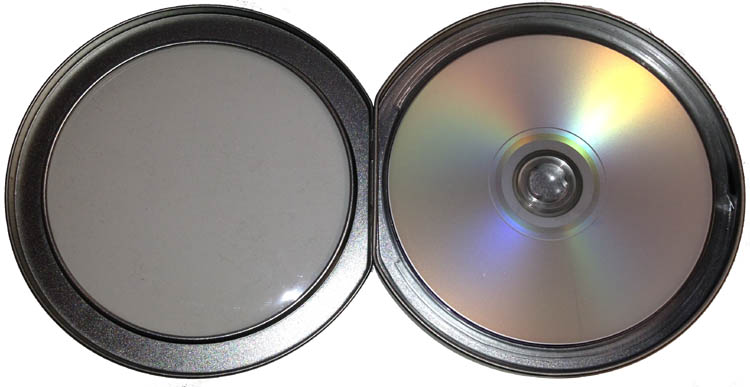
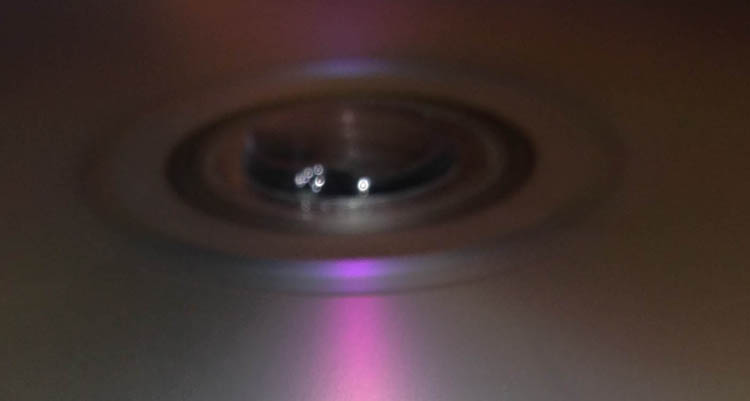
The above images show what it looks like with 3 discs without an O-Ring. The right one is blurry but shows there is little space between the top disc and hub top. Click to enlarge (opens new window).
Disc Removal
When using these cases with either O-Ring, removal is quite simple. Particularly with the larger ring and one disc. The reason is that the larger ring provides a greater distance between the bottom of the disc and the tray bottom. Simply gently press down on one side of the disc(s). This will, in turn, raise the opposite side (like a seesaw). While still pressing down, use your thumb or a finger from the other hand to lift out the media.
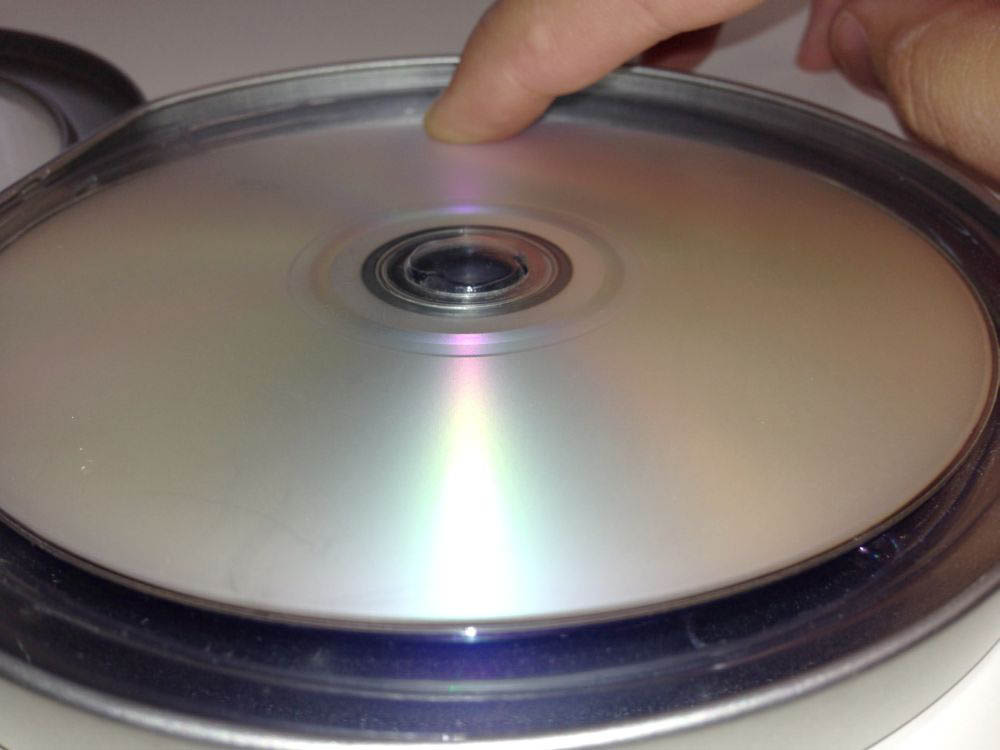
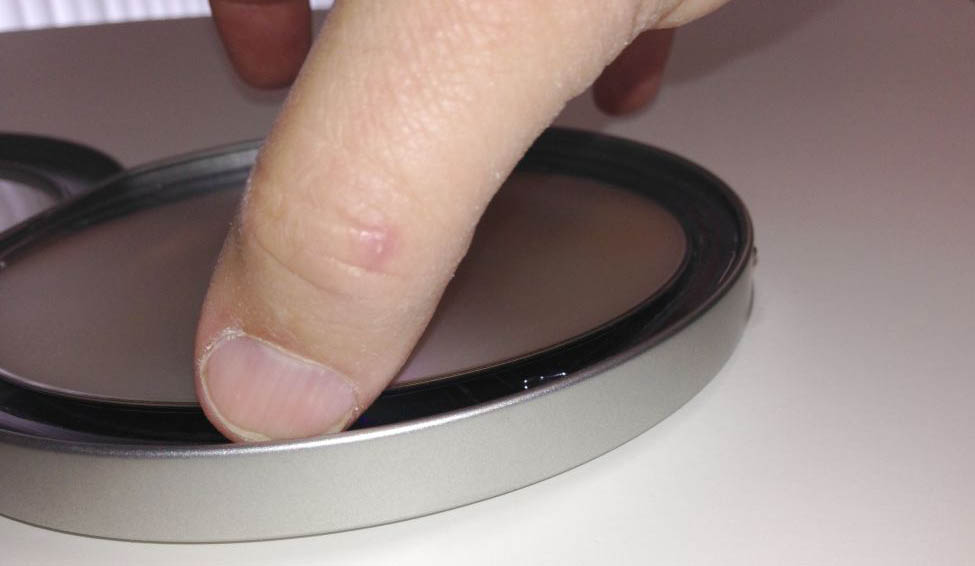
The above images show the two step removal process. Step Two (right) displays the thumb method. Click to enlarge (opens new window).
When removing three discs the same concept is employed, but can be a bit trickier. Without an O-Ring, the bottom disc lies flat on the bottom of the tray. Therefore, there is little, if any, of the "seesaw effect" mentioned above. That said, there is a great reliance on using the thumb (or other finger). Furthermore, it may also be necessary to actually slightly bend the plastic on the tray itself during the second step. Since the plastic has some pliability, there is little chance of breakage. However, this still should be done with care to avoid damage to the tray or media.

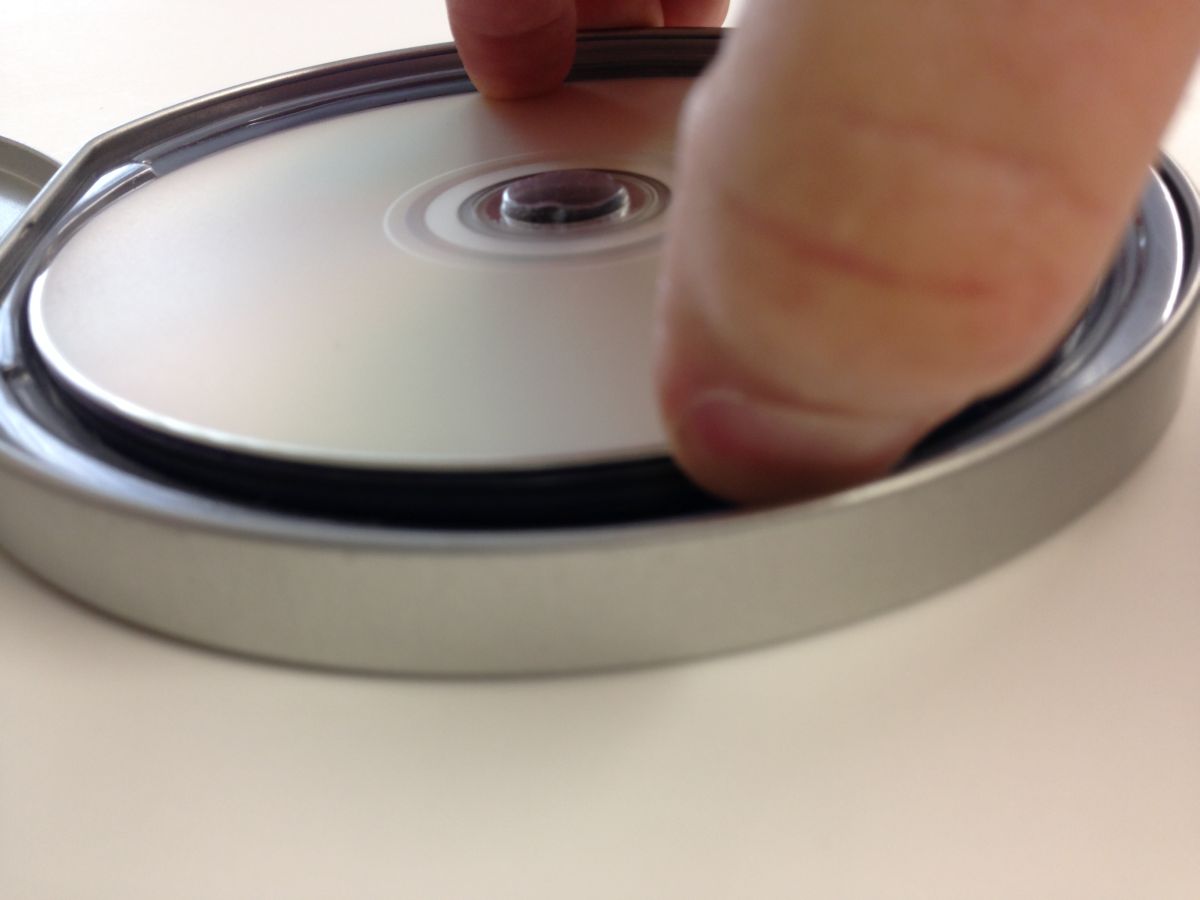
The above images show the two step removal process when an O-Ring is not utilized. Click to enlarge (opens new window).
